 Have you ever tried to take a picture of a flower? It may seems an easy thing because there is a lot of flowers around you, they are all motionless and you don’t need to chase them. You can’t fail by photographing the flowers – they are beautiful anyway! However, it’s not all as easy as it sounds… The moment you try it you might see that this “easy thing” contains many pitfalls. It is a real art that requires creativity, thinking outside the box and the main thing – patience. We compiled a few tips that will help you to make your flower shots magnificent!
Tip №1 Newer shoot flowers from above. It must be very tempting to take a picture of beautiful surroundings on your way but you should remember – this type of shots will turn out quite common, even boring. Why is it? Simply because the photos of this type do not have your personal touch, most likely there is nothing new in them. The real world is so beautiful, one just needs to be able tocapture the beauty! Ideally you should surprise people, to make them interested in your picture. Try to shoot a flower in such a way that we do not commonly see it, try to present it like something from the other world. Imagine that a viewer is a guest in this world created by a photographer. In order to achieve this effect you need to change the sight angle. For example, squat down to the flower to be on the same level with it.
Tip №2 Are you skilful enough to work with the focus? If not – you’d better learn how to do it. Flowers are very small and you need good lens to make high quality pictures. You also need some skills to use it. Try it out! Blur the background, lock a focus on the flower, fill the space with bright petals! And remember about composition.
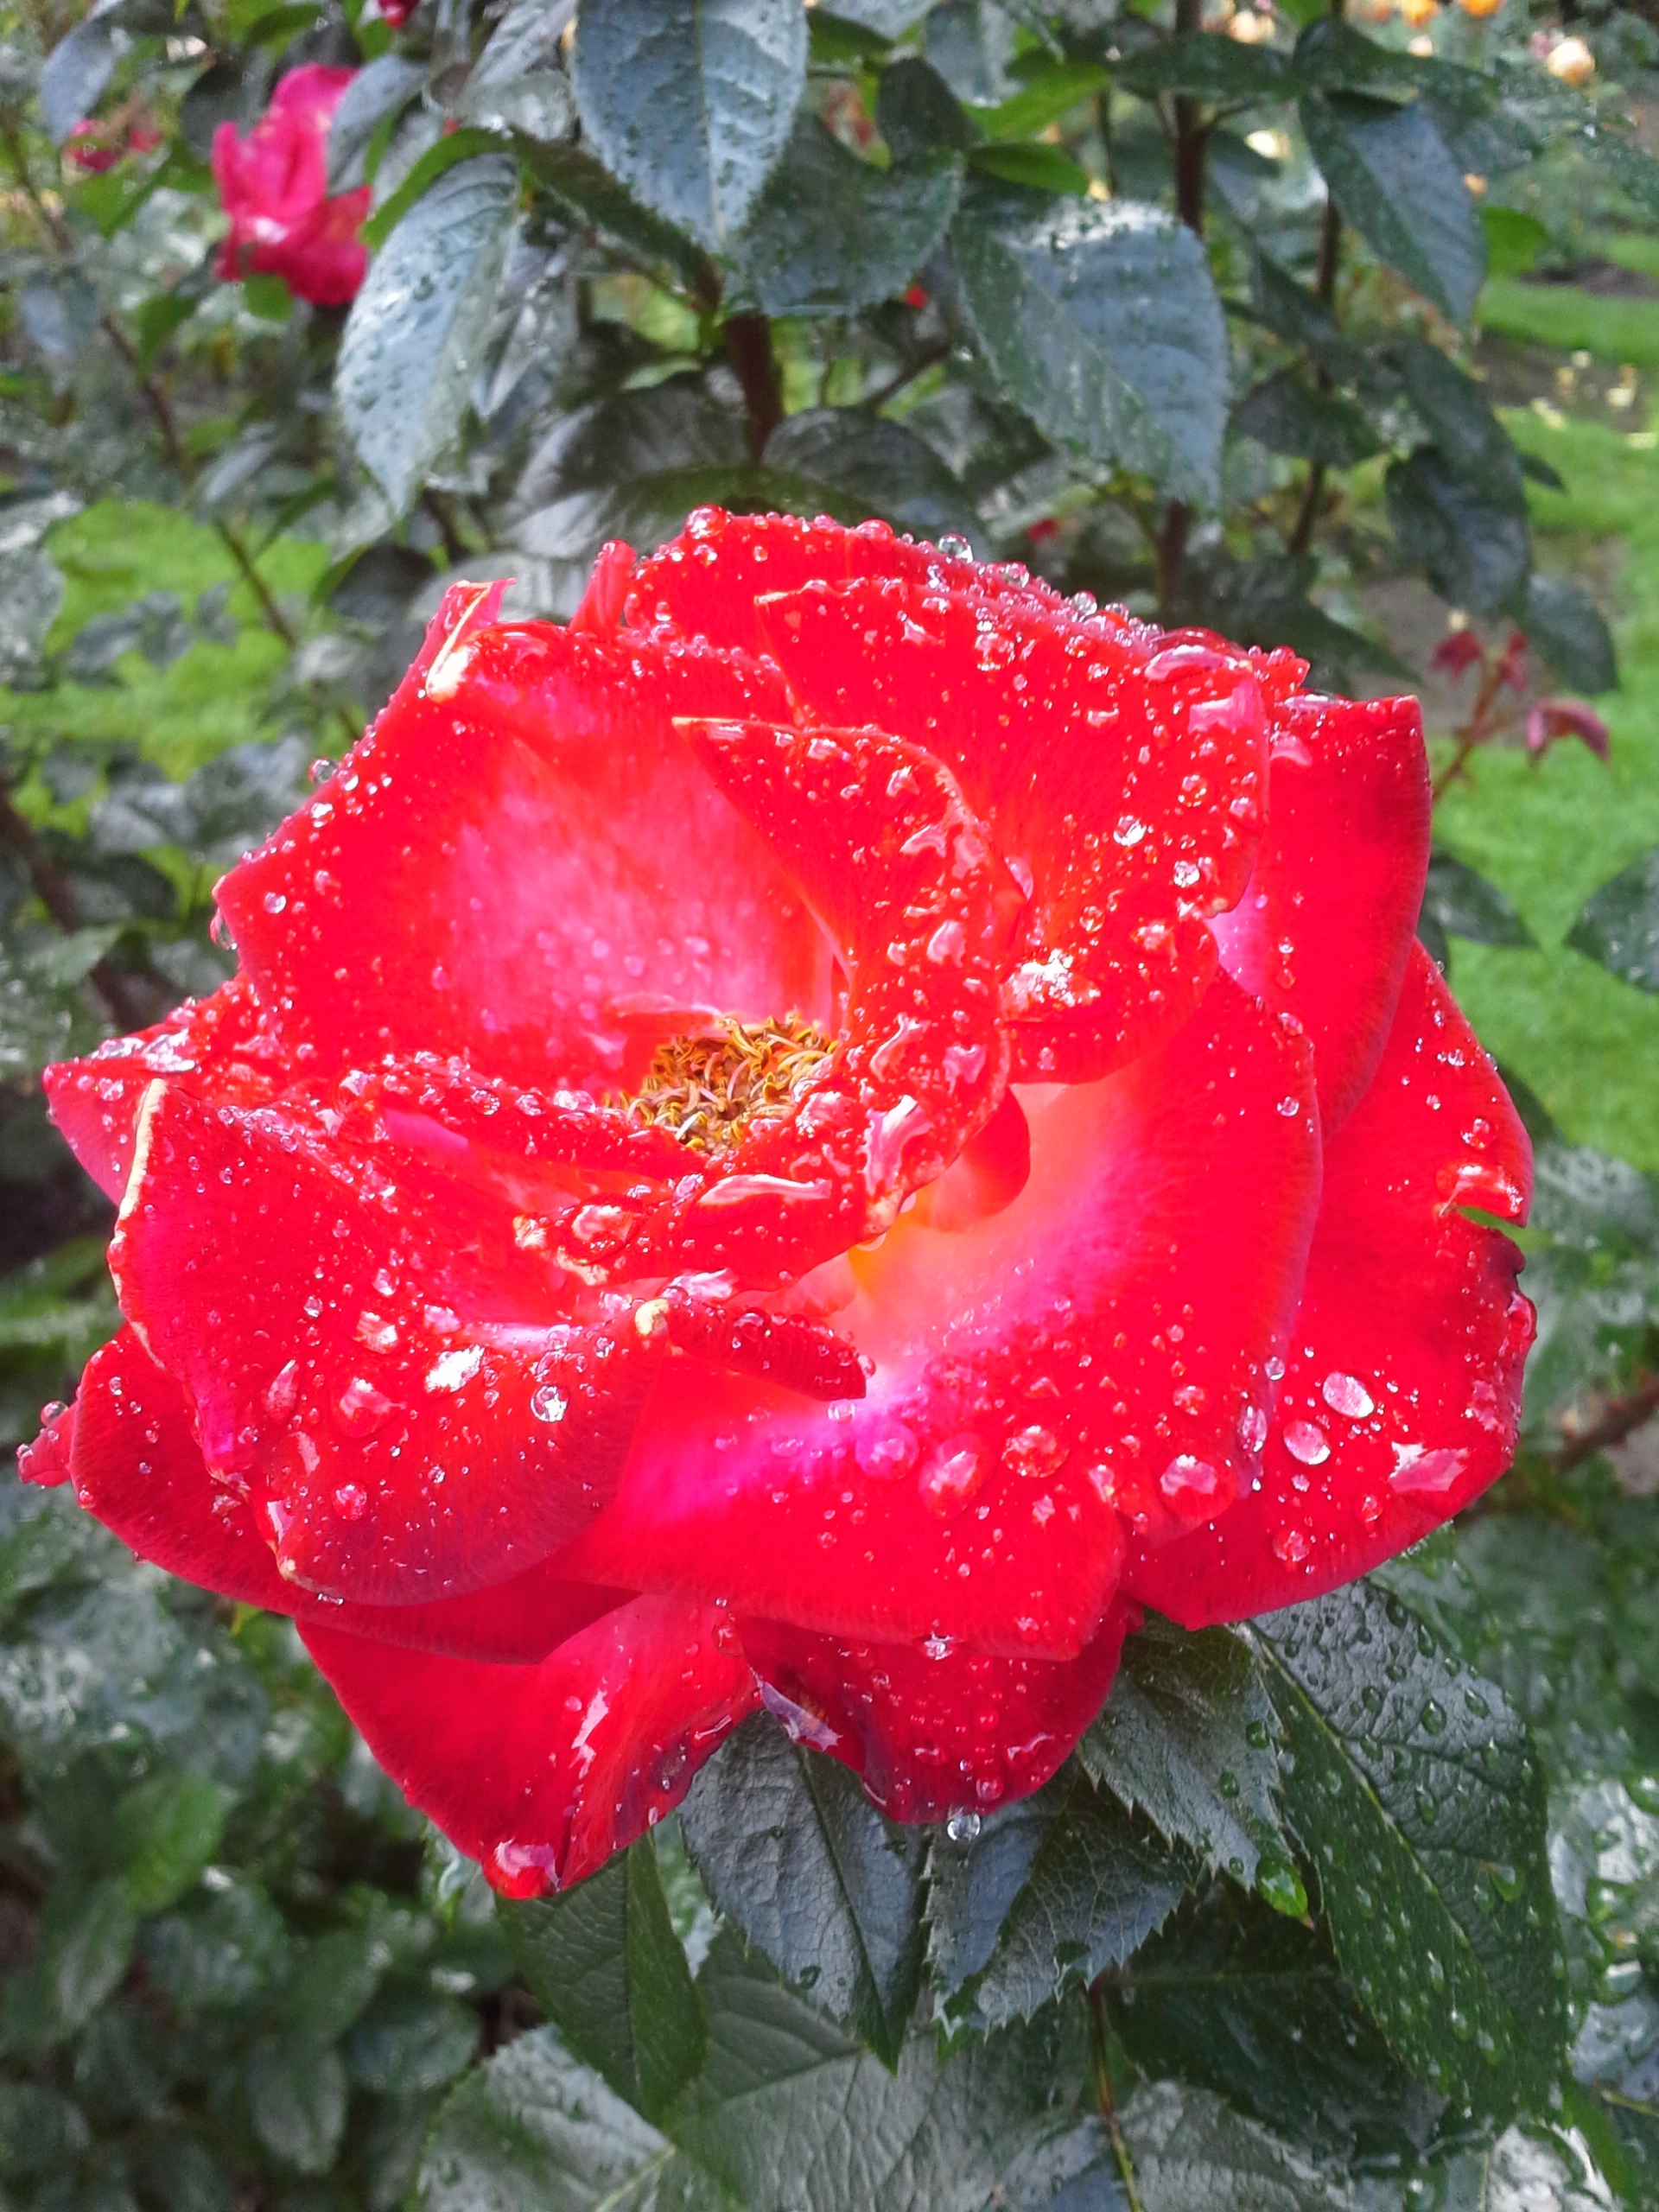
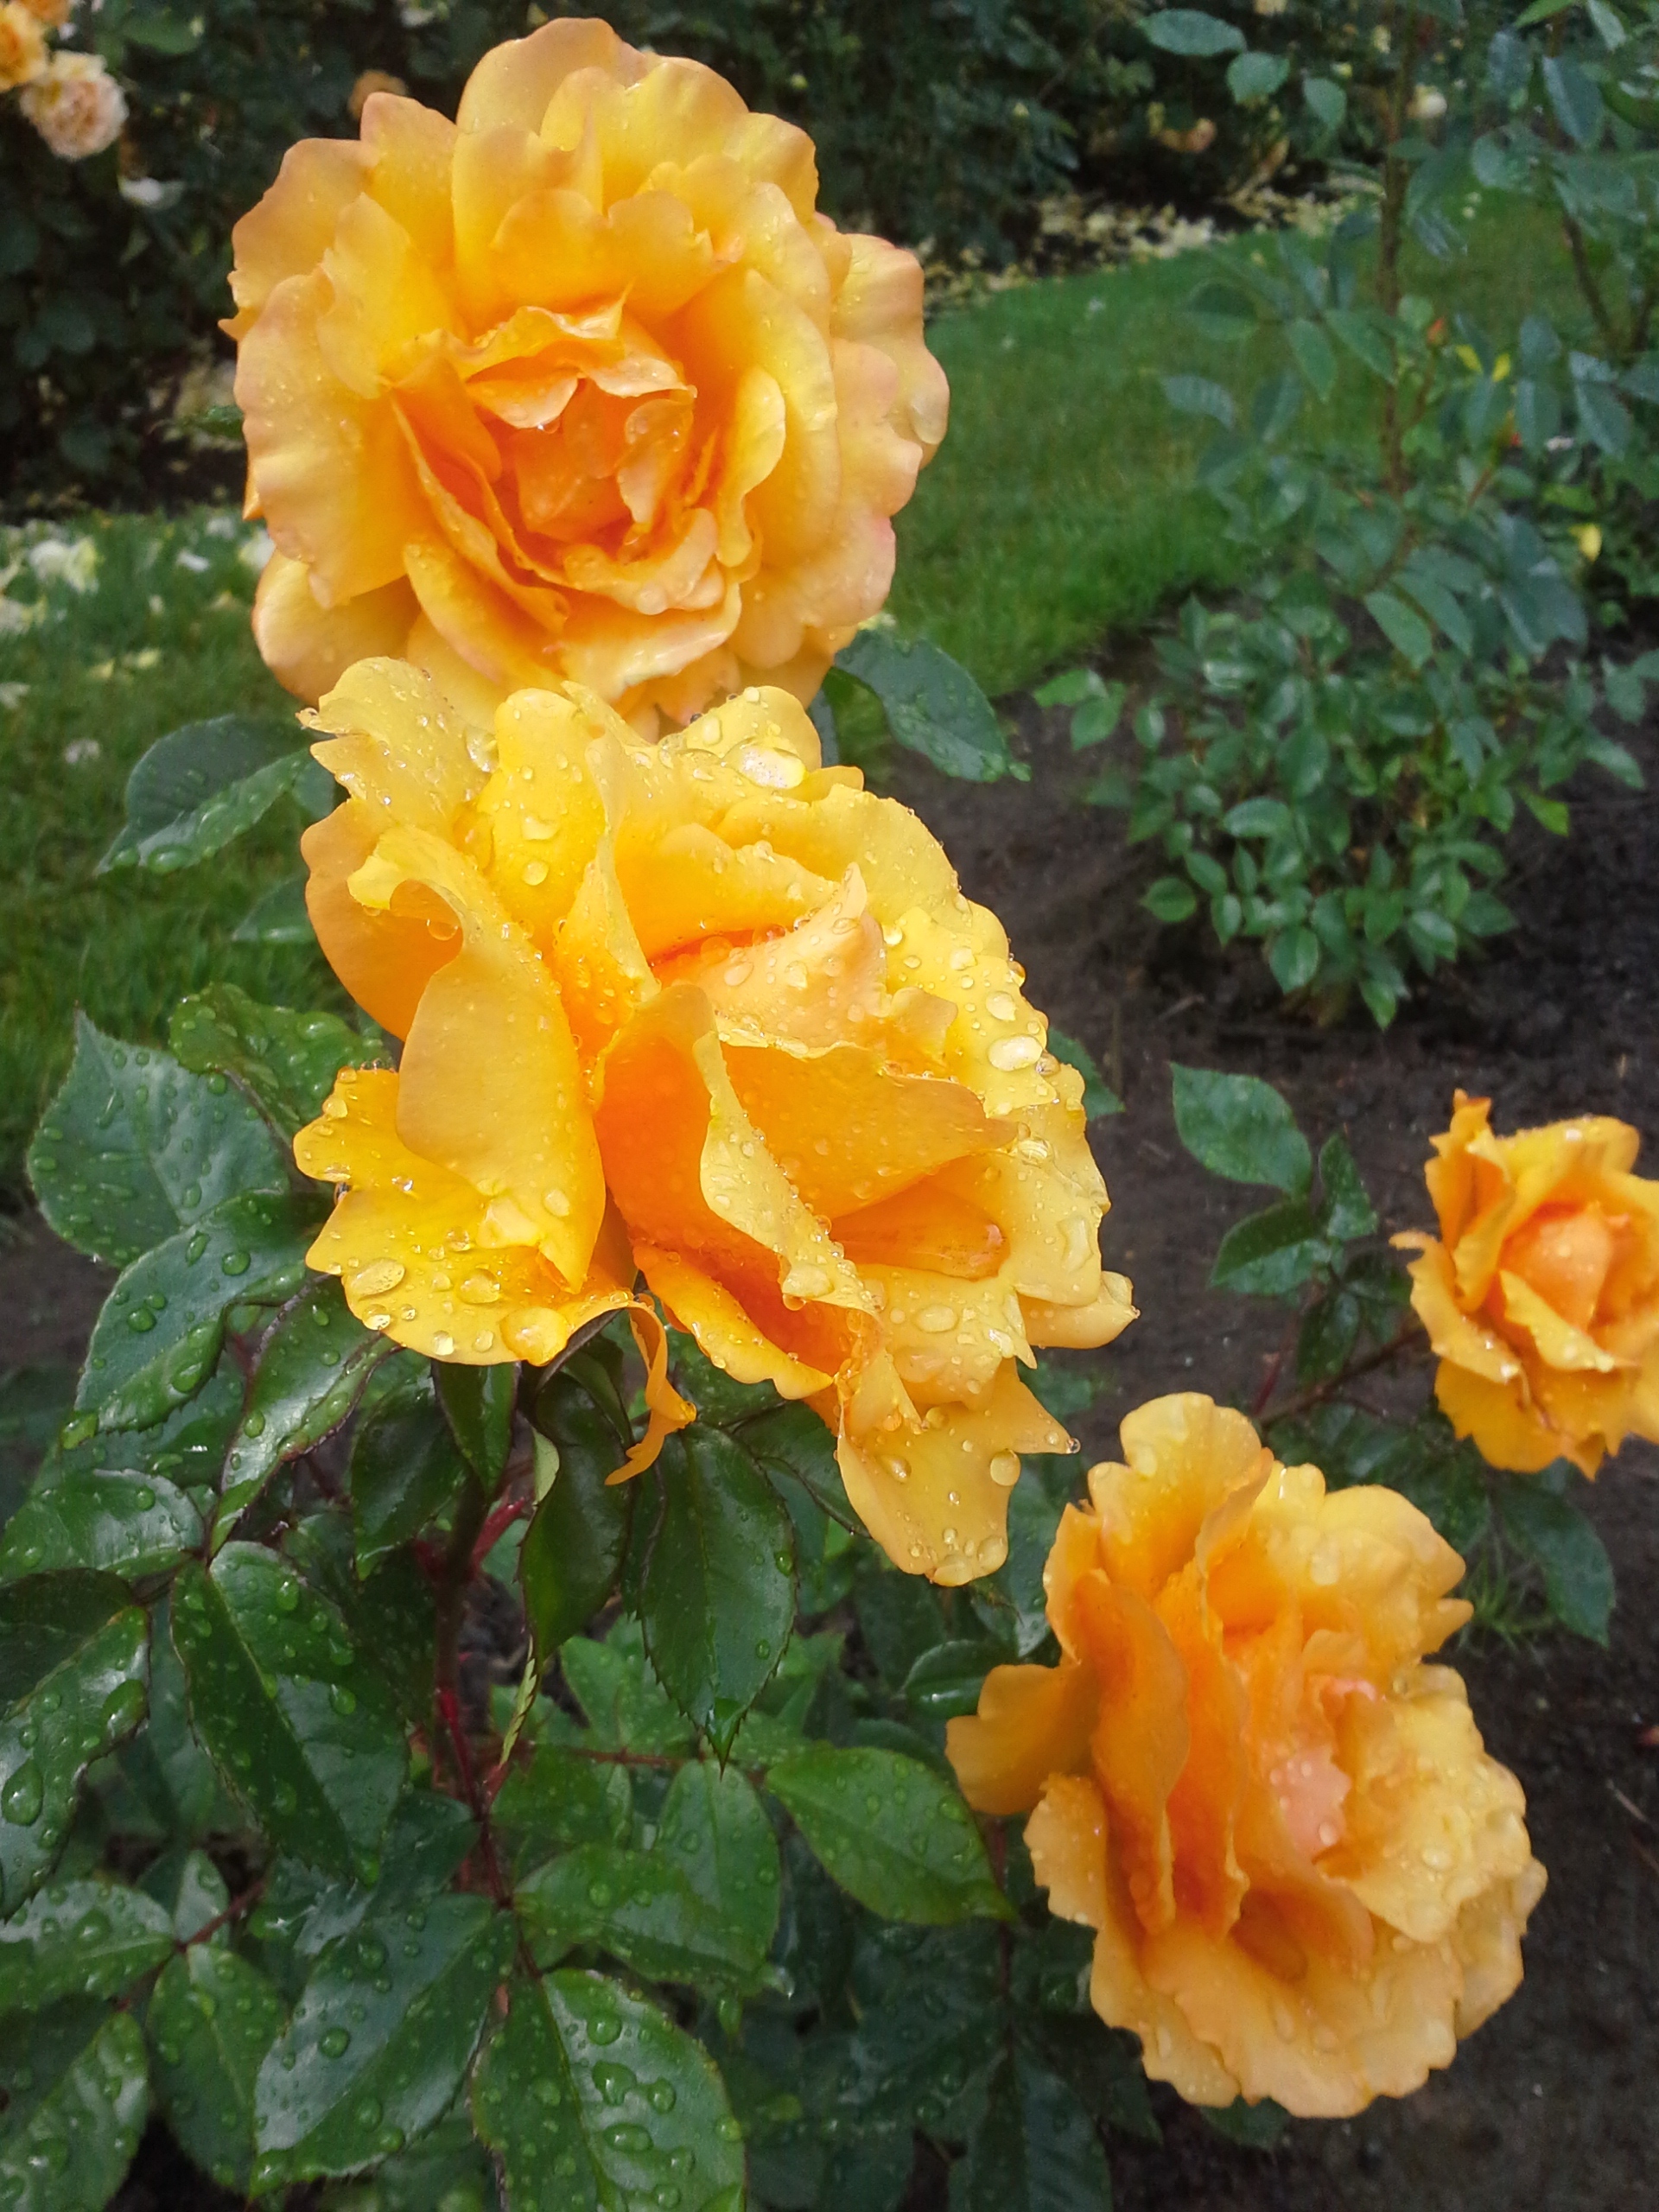
 Tip №3 “What? Where? When?” – that means you should always think about the weather, location and time of photo shooting if you intend to photograph flowers. Let’s start with a place. The most suitable place for flower photography is its natural habitat (wood, meadow, park, garden, etc.). The best lighting in such cases is also natural. The best weather for flower photography is cloudy and gloomy. The sun adds extra contrast to the photo and makes them less pleasant for the eye. Besides, direct sunlight mingt distort the natural colours and make them unnaturally bright. Try shooting after rain – it is the best time for flower photography! The colours of petals become very saturated because of the silver light which makes landscapes darker. Use opportunities of macro shooting: catch the drops at the petals! Remember to protect your camera from humidity and also remember to take your tripod with you.
However, for some flowers the best time to photograph is a clear sunny day (for example, yellow ones). Safe choice would be an early morning or late afternoon time. The sun can be an excellent background at this time. You can control the colours and take maximum from the natural light using a telephoto lens. With all the advantages of the photography in the natural habitat there is one disadvantage: it’s the wind. Especially when doing macro shooting. It is important to be patient and to catch the right moment not to let the picture blur. 
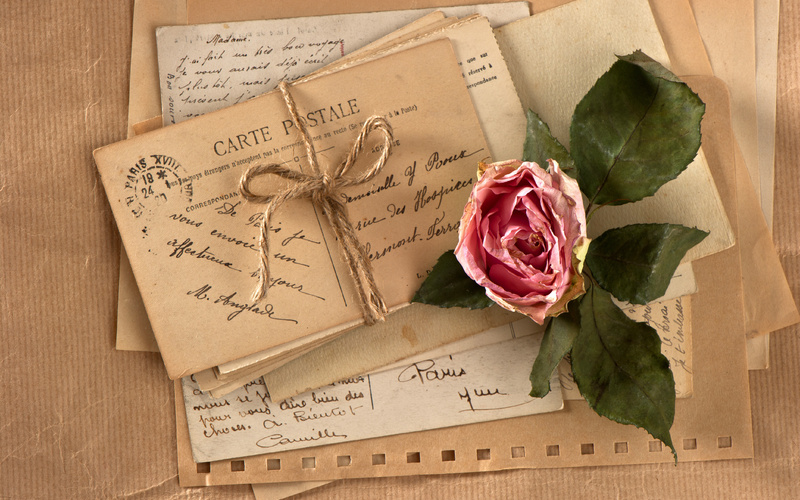
As for the indoor flower shooting, you can make spectacular photos even without professional lightning. Just ensure the natural lighting. An excellent material for indoor flower photography can be provided by various bouquets that you, for example, can find in our catalog saving your time and creativity for shooting. It won’t be superfluous to add that the soft sunlight from your window will be enough for indoor flower photography. But be careful: the picture will look flat if the light comes from above. Using of table lamp can add some volume to your picture. Try different ways, different colours and compositions. Don’t be afraid of small defects: they can be turned into advantage. For example, if you have an old windowsill, put a fading rose on it, add some fallen petals in addition to the old cracked vase. And remember, you can always use Photoshop.